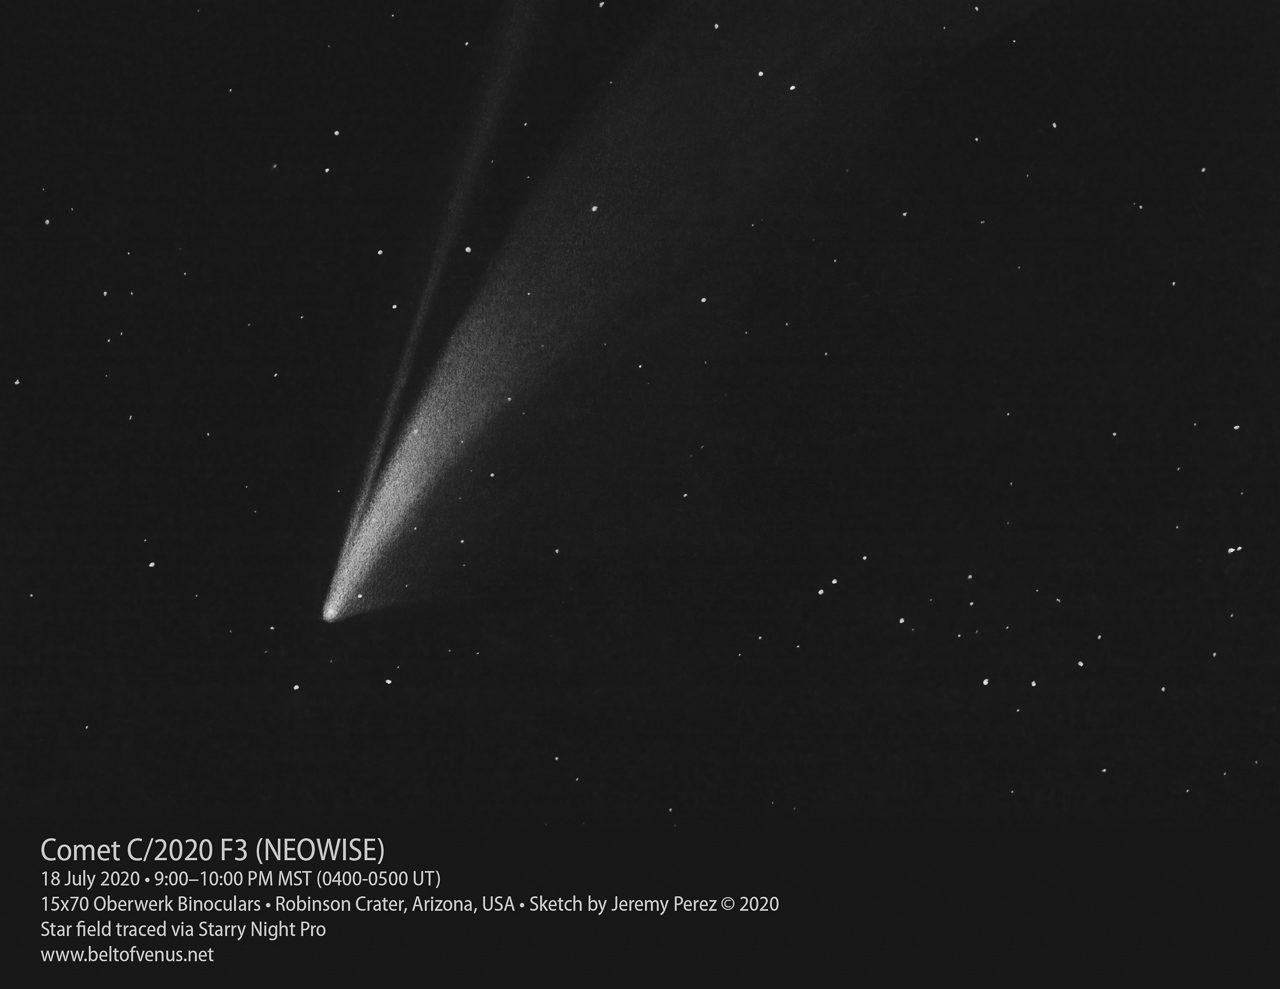
Sketch of C/2020 F3 (NEOWISE) – 18 July 2020 Click for larger version. Such a spectacular view. Both naked eye and through binoculars. Even though it hasn’t qualified for ‘great’ comet status, it is large and a beautiful ornament to the night…
The last ten days have been a flurry of comet adventures. Following are images from those days and finishing up with a naked eye sketch from last night. It’s been a while since I’ve posted one of those. The comet became more…
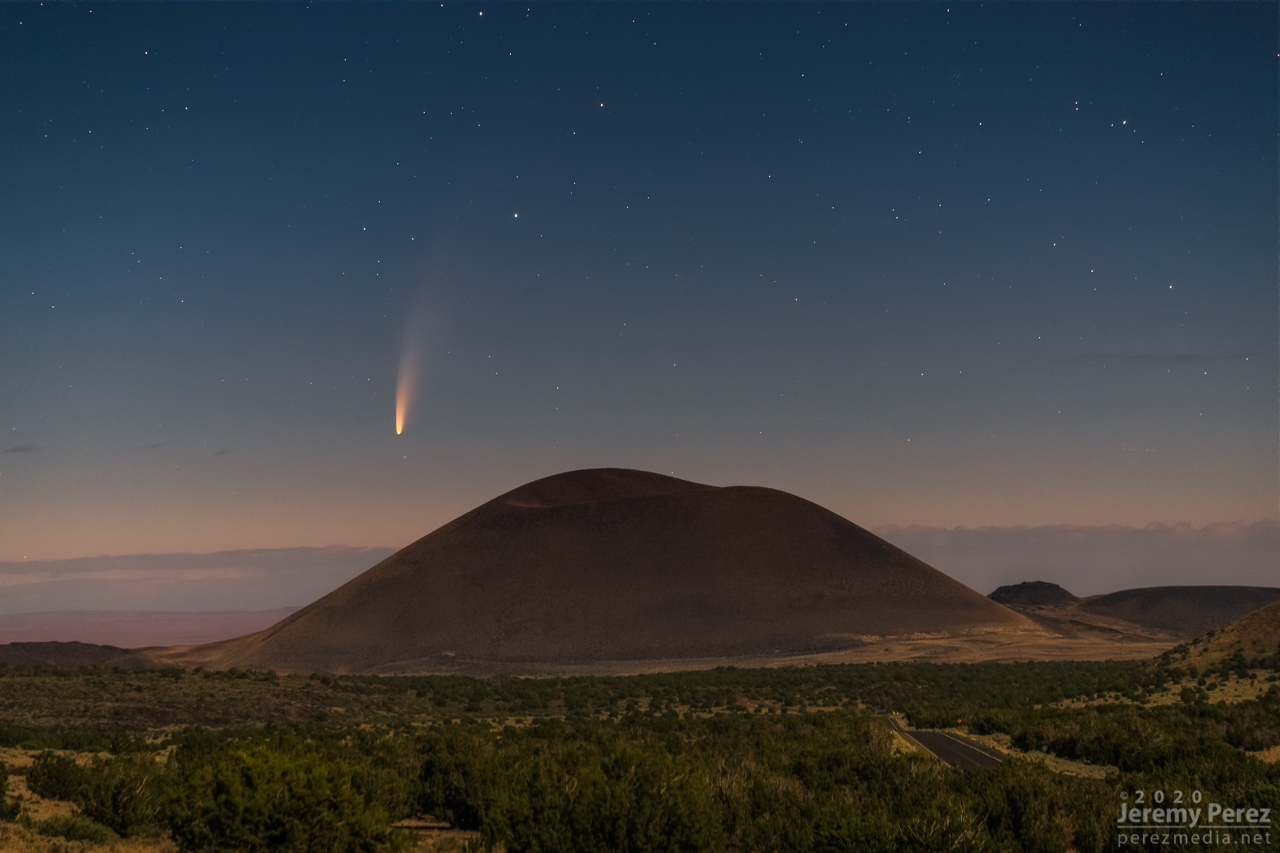
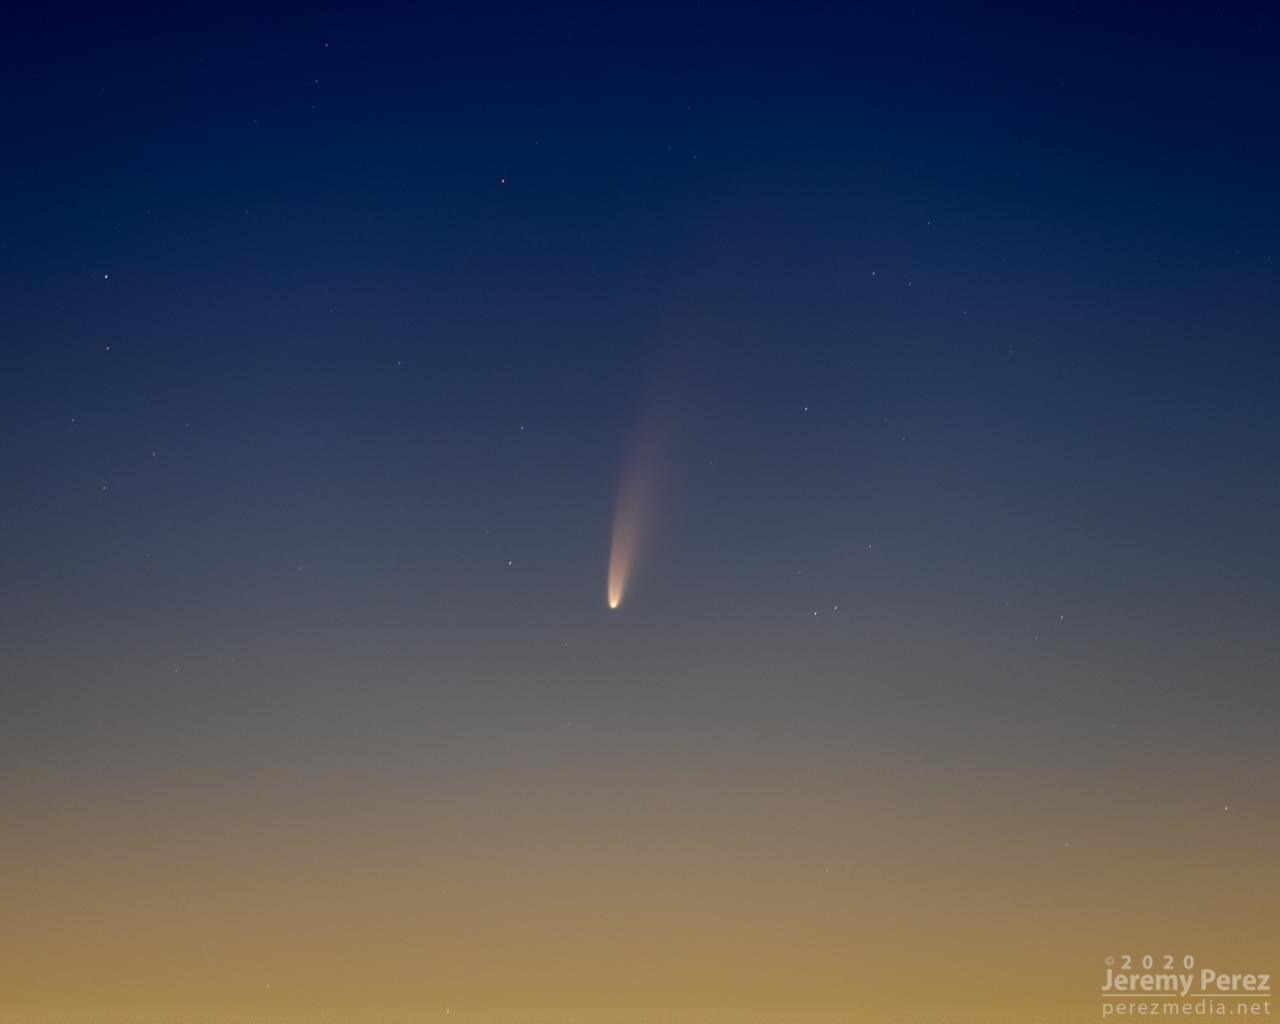
C/2020 F3 (NEOWISE) – 7 July 2020, 3:44AM MST / 1044UT Click for larger version. There were no nearby clouds to contend with this morning and that permitted the view I was after with Merriam Crater. On any given day that old…
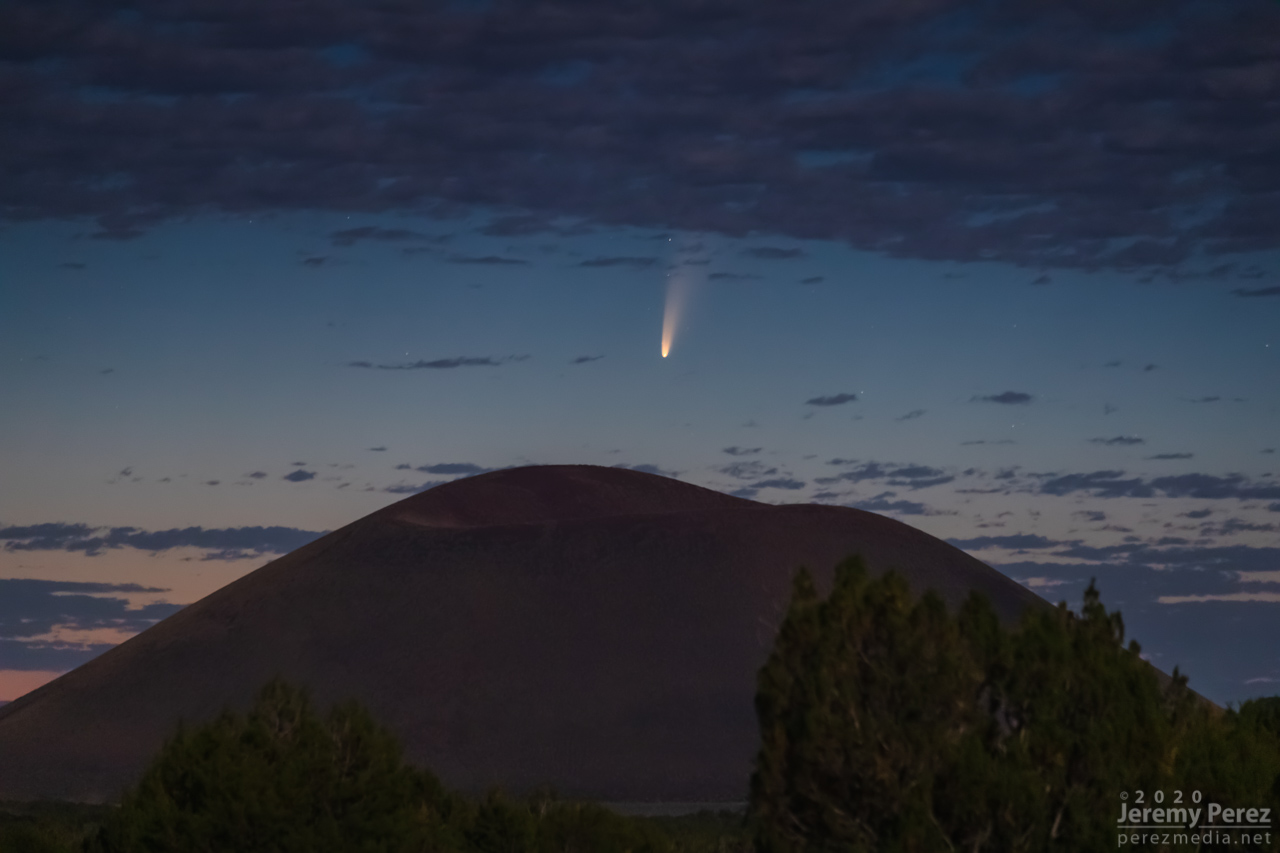
C/2020 F3 (NEOWISE) – 6 July 2020, 3:51AM MST / 1051UT Click for larger version. Clouds put a really short timer on capturing comet-rise this morning. Between that and spending 10 minutes carefully maneuvering myself back out of a sketchy, unscouted road,…
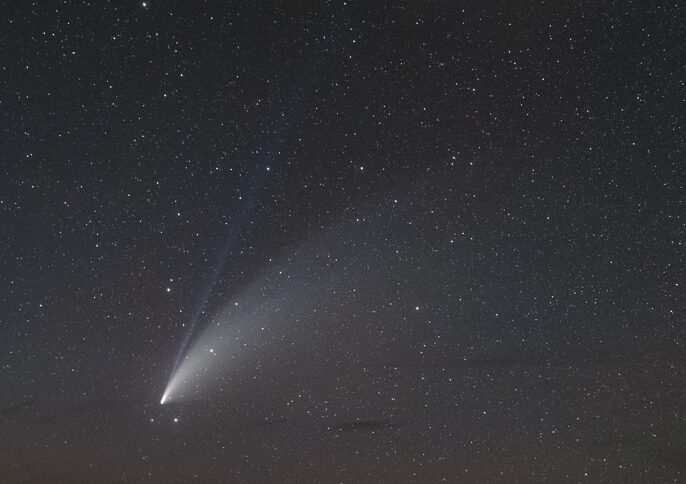
C/2020 F3 (NEOWISE) – 5 July 2020, 4:09AM MST / 1109UT Click for larger version. I have a strong dislike of early mornings—but so worth it today because wow is that comet beautiful! C/2020 F3 (NEOWISE) I was at Sunset Crater by…
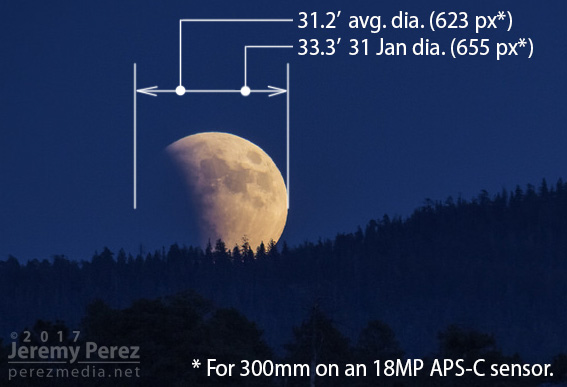
Three things are happening before sunrise January 31 in the western US: A Blue Moon—Super Moon—Lunar Eclipse. So how zesty is that lineup really? The Blue Moon part: Yeah whatever. But for anyone coordinating with mass media, it’s probably a decent hype…
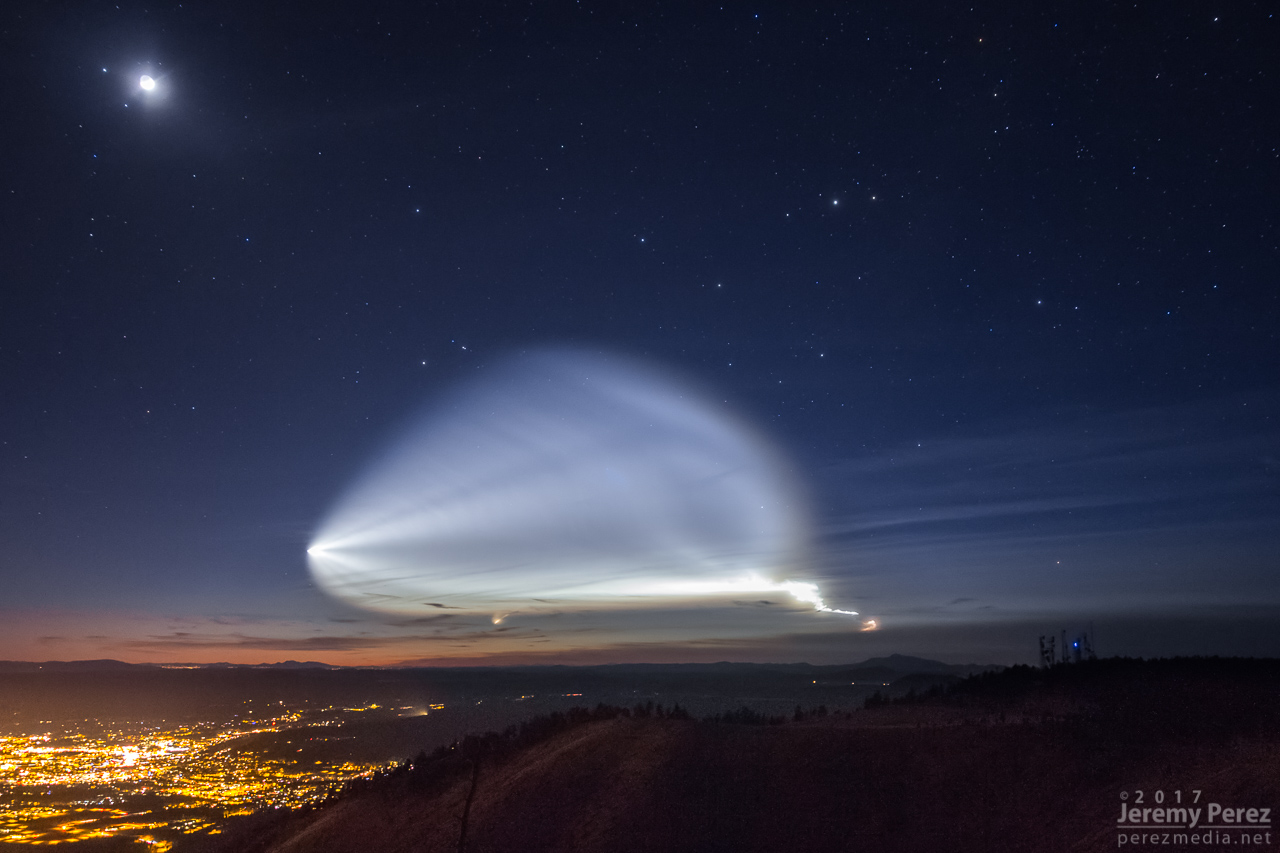
A couple nights ago, a SpaceX Falcon 9 rocket launched a group of Iridium satellites and put on an awesome twilight show across the southwest US. Twilight rocket launches are incredible. If you get a chance to see one, just stop what…
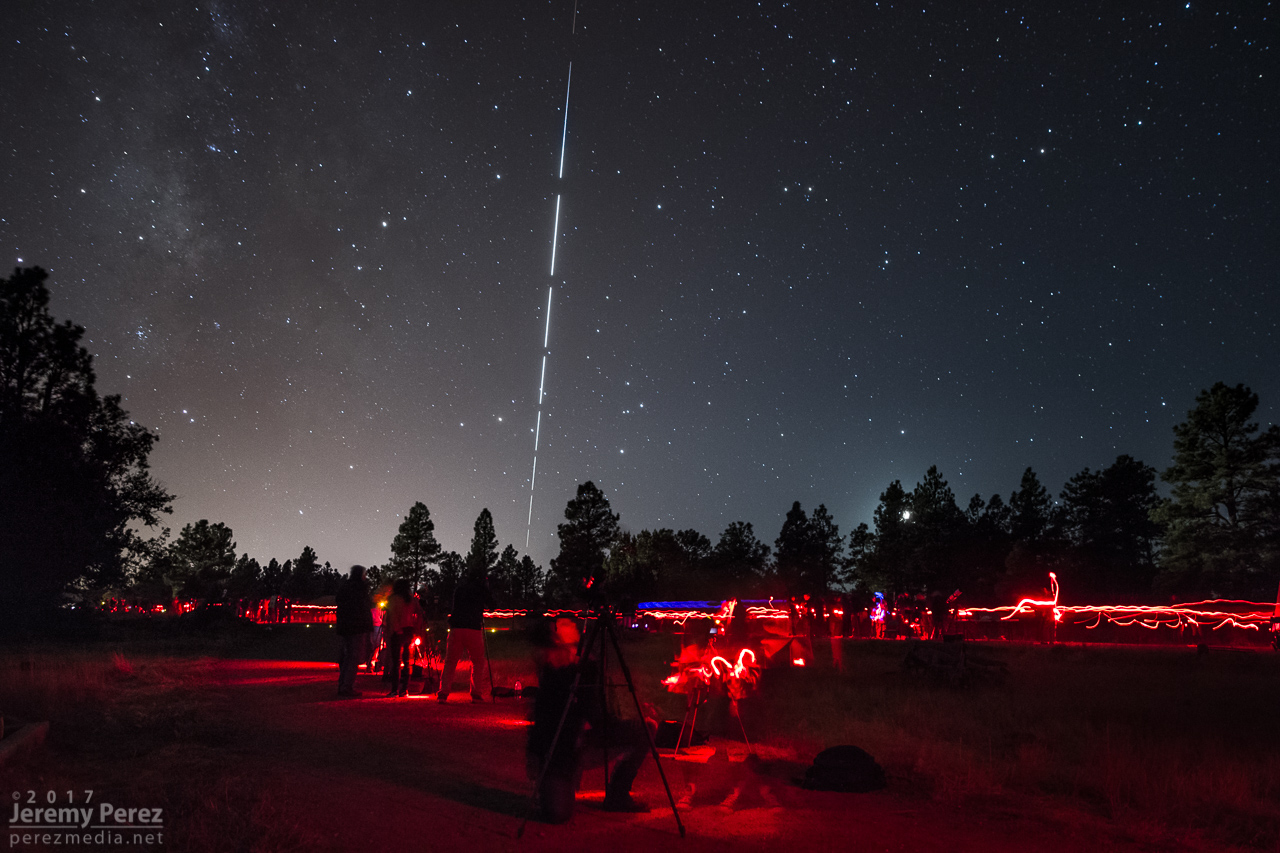
Last weekend, 23 September 2017, was the last night of the 2017 Flagstaff Star Party. This is the fourth year the star party was hosted in the middle of town at Buffalo Park. This image was shot while I was assisting at…
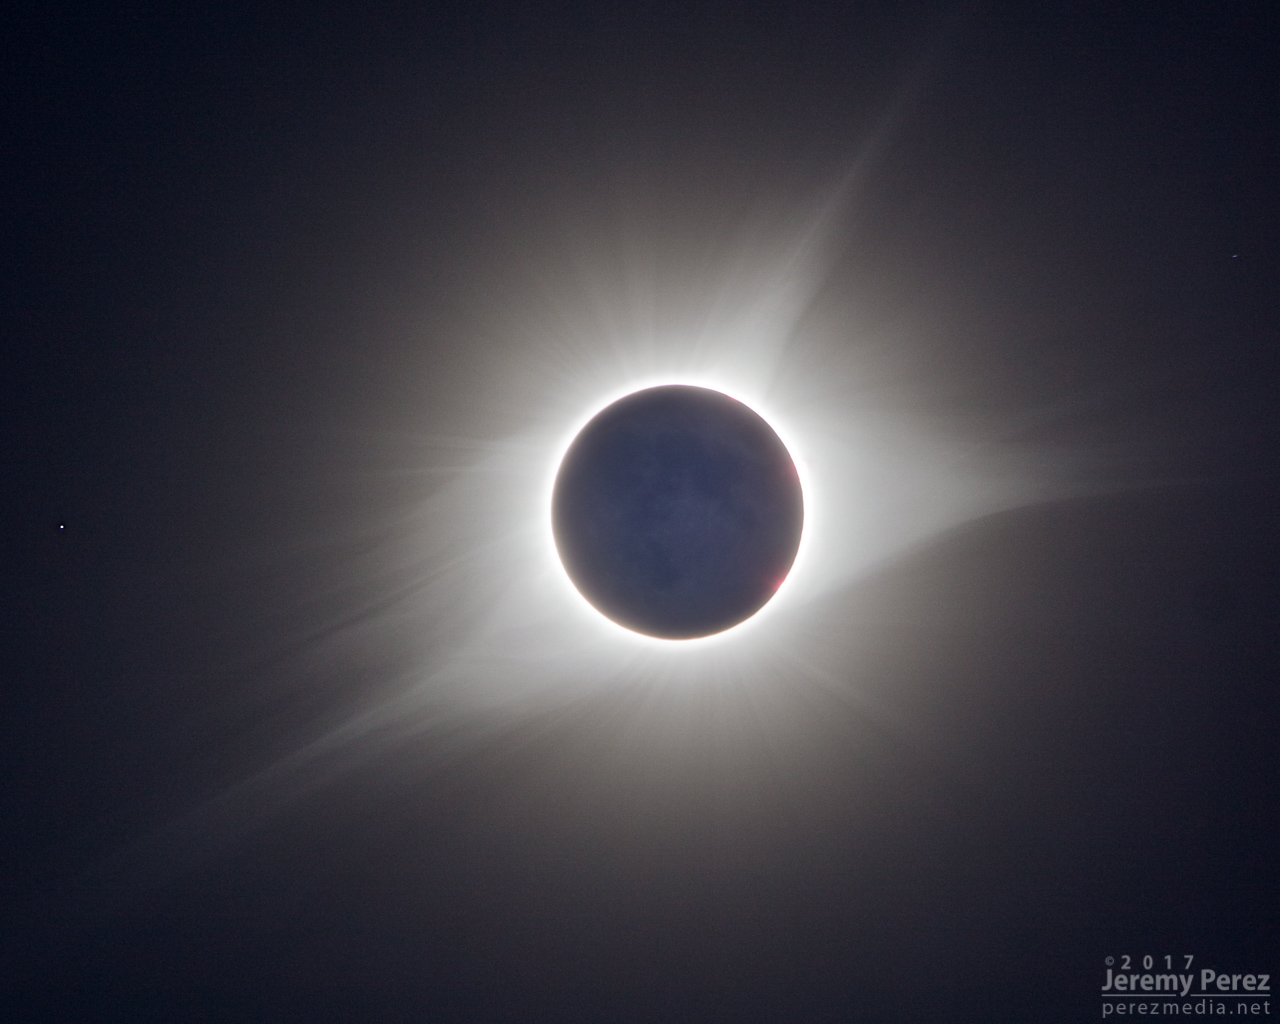
Perched on a grassy ridge in the sand hills of the Nebraska Panhandle, I experienced two and a half minutes of pure wonder with the three people on earth I love most. I hope they all remember it as vividly as I…
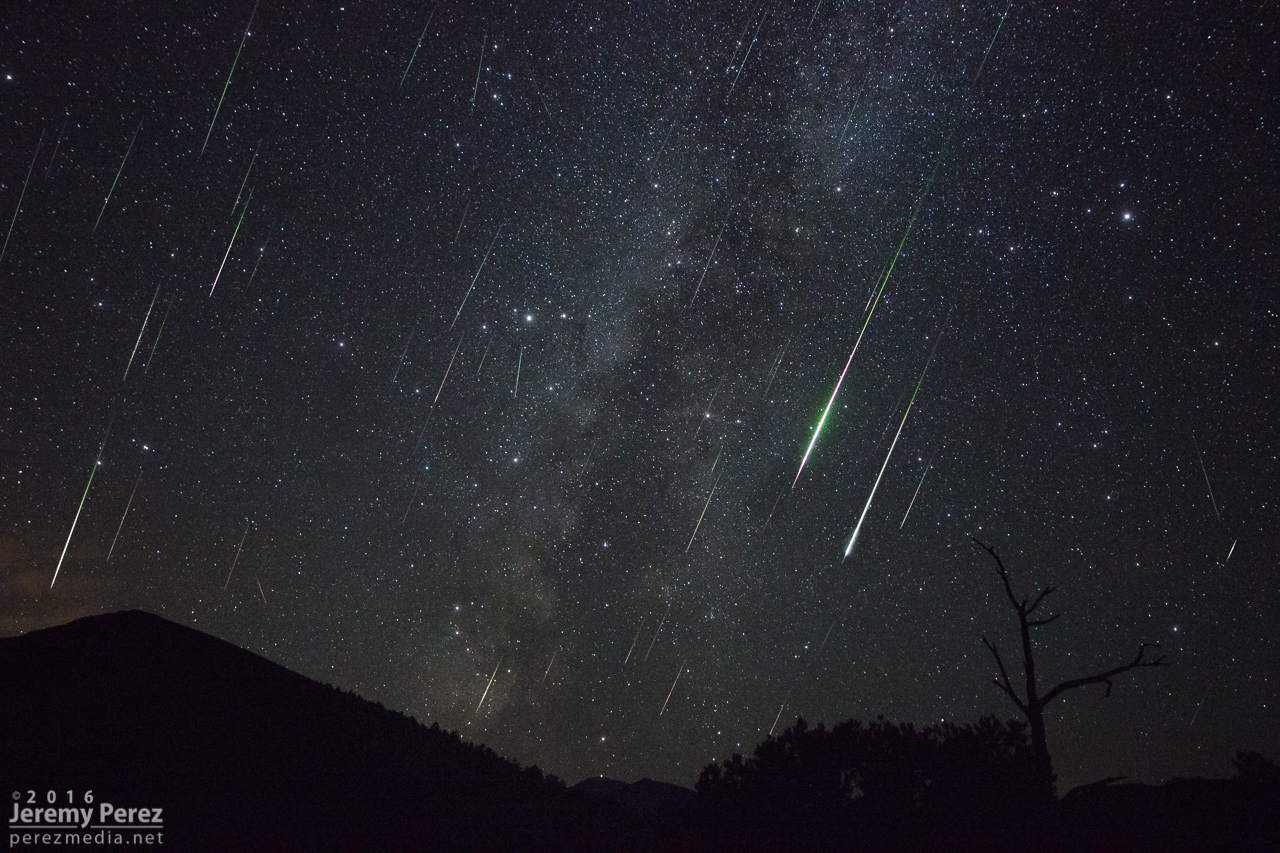
I got out to Sunset Crater National Monument northeast of Flagstaff, AZ to photograph and just bask in what turned out to be an awesome display. Running a couple cameras, I was not counting meteors every minute of every hour, but kind…