Another question you will want to consider is whether or not to invert your scanned image if you are sketching on white paper. For the purposes of this discussion, the word "invert" refers to changing a positive image to a negative image and vice versa--not to mirror-image issues that arise from the use of a telescope that has an odd number of reflections, such as an SCT with a diagonal.
For reference, here is how I will refer to images:
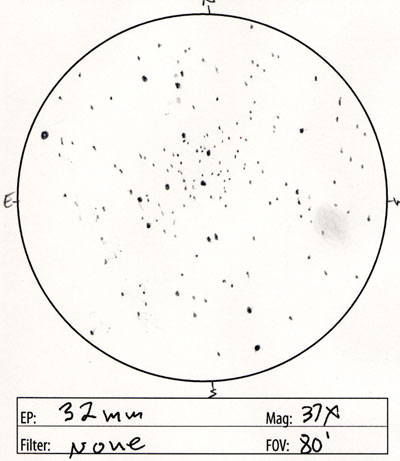
Figure 4: Negative (M 34)
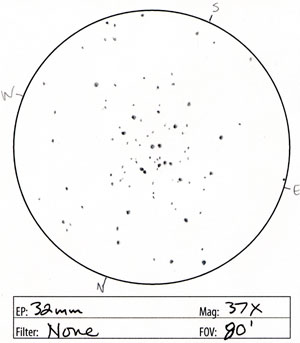
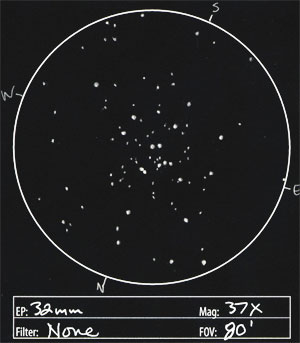
Figure 5: Positive
So for the purposes of this discussion, when you sketch with regular pencil on white paper, your a producing a negative image of what you see in the eyepiece. Inverting that image will produce a positive.
Many amateur astronomers prefer to view astronomical images as negatives to better see faint details. I have noticed the usefulness of this myself with very detailed astro photographs at my desk, as well as in the field under a red light. It is easier to see faint details on a negative sky image. You may prefer to present your sketches that way as well.
As you may have noticed, I present mine as positives. I do this for a few reasons (that I don't claim are better for everyone, just that they are my preference):
- The level of detail in my sketches is not currently ;-) of astro-photograph caliber. So I don't see as much value in presenting them as negatives. In other words, the signal to noise ratio of my sketches doesn't seem to warrant the level of scrutiny that a negative image will stand up to. Particularly considering the following--
- With some basic adjustments to a positive image in an image-editing program, fainter details can be brought out well enough to show up on a variety of monitors. If you don't take care with the shadow values in your image, you risk having some of your viewers miss dim details if their monitors aren't well calibrated. The odds are that if somebody's monitor is going to cut off details at either end of the luminosity scale, they are most likely to clip off the shadow values, leaving highlights relatively safe. This can be a very good reason to leave your sketches as negatives. But I like to take some extra steps to convert to positive format and work to give it a better chance of surviving overly dark/contrasty monitors because of this next item--
- A positive image can convey very nicely what you would expect to see through the eyepiece. This isn't to say I can't appreciate the view a negative sketch provides, but a positive sketch just draws me into the experience much more fully. I think a lot of it is an aesthetic value. There is knowledge to be gained in everything I see in the eyepiece, but I am also highly drawn to the subtle, glowing beauty of these deep sky wonders. I think that a positive sketch gives me the best opportunity to convey that feeling to others. I hope that I can eventually encourage people to take a gander themselves if they realize that they can drink up that sort of view their own eyes. Besides that, it reminds me most closely of what I saw myself when I go back later and browse through the images.
- One additional bonus of a positive sketch image is that it allows me to come back and represent any color I noticed in the eyepiece. (yes, there is color to be seen out there. It ain't Hubble-color, but it's there :-) Positive images can be very receptive to adding this extra bit of detail.
The tutorial I give here will focus on positive images. If you prefer to present your images in negative format, you should still be able to glean some information here. Most of the image enhancement information will work for negative images--just in reverse.
A concept that needs to be nailed down is one of image size. For web presentation, the two numbers you want to be most concerned with are width and height. These numbers are stated in pixels. You will want to decide what size best conveys the details of your sketch online without going so large that you inconvenience your viewers. That inconvenience can come from files that are too large to display fully in their browser, requiring annoying scrolling to view all portions of the image. Overly-large images can also discourage users with dial-up connections who will have to wait an undesirable amount of time for your images to load. On the other hand, if you make your images too small, it may become difficult for viewers to appreciate some of the finer details of your sketches. I would suggest taking a look at sketches from different amateur astronomers online and getting an idea what might work best for your sketches. On my site, I've gravitated to images that are 300 pixels wide for DSOs, and images that are 250 pixels wide for double-stars (which don't require as much resolution to convey the view). Below are samples of the same image at different sizes to give you an idea of what you might expect to see:
Figure 6A: 300 Pixel Wide Sketch (M 35 and NGC 2158)
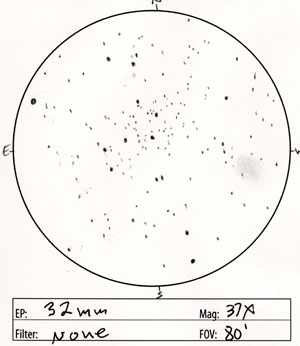
Figure 6B: 200 Pixel Wide Sketch
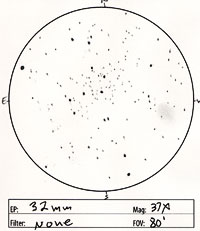
Figure 6C: 150 Pixel Wide Sketch
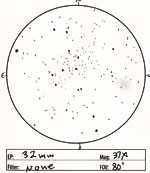
Figure 6D: 100 Pixel Wide Sketch
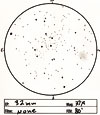
Figure 6E: This link will display a 400 pixel wide image in case you are interested.
In order to get your image to the desired size, you will need to first crop it to get rid of anything unnecessary. In Photoshop, you use the crop tool to mark a rectangle around the area you want to keep and then type Enter/Return.
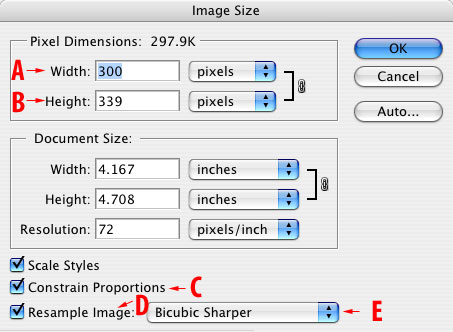
You will then need to scale the image. In Photoshop, go to the Image menu and select "Image Size...". When the Image Size dialog window (Fig. 7) appears, be sure that the "Resample Image" item is checked (Fig. 7, D). This checkbox allows you to change the pixel dimensions of the image. If your version of Photoshop gives you the option of choosing the resampling algorithm (Fig. 7, E), I would suggest "Bicubic Sharper"--it better maintains the integrity of fainter stars. Next, be sure that the "Constrain Proportions" item is checked (Fig. 7, C). This makes sure your image scales proportionally--that it doesn't get overly stretched or compressed in one dimension compared to the other. Now enter a number in the width or height field (Fig. 7 A & B) that you have decided will be your desired image size. The other dimension field will change value to match proportionally. Click OK and see the results.
Figure 7: Image Size dialog
Your image is now at the correct size, and you are ready to optimize it.
PAGE 2 OF 7
-- First Page | Next Page --

